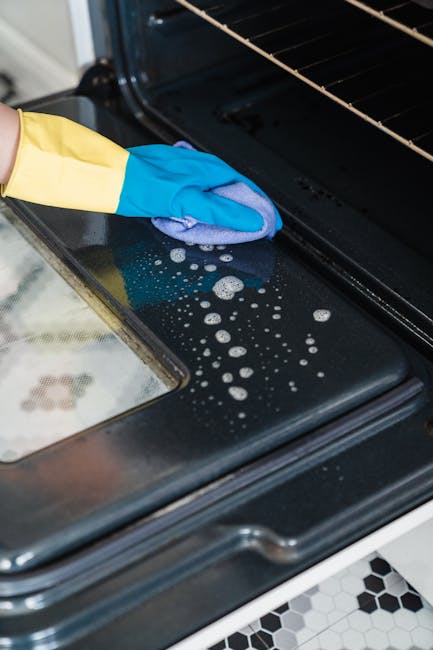
Turnpike Lane oven cleaning tips for Harringay homes
Posted on 29/05/2026
If your oven has started to smell a bit smoky when you preheat it, or the glass door has gone from clear to cloudy to frankly embarrassing, you are not alone. In Harringay homes around Turnpike Lane, ovens work hard: weekday dinners, weekend roasts, late-night tray bakes, the lot. The good news is that Turnpike Lane oven cleaning tips for Harringay homes do not need to be complicated to be effective. With the right routine, a few sensible products, and a bit of patience, you can keep grease, burnt-on spills, and odours under control without wrecking the appliance or spending your whole Saturday scrubbing.
This guide is built for real homes and real kitchens, not glossy showroom cooking spaces. Whether you are in a rented flat, a family terrace, or a busy shared house near the station, you will find a practical approach here: what to clean, what to avoid, when to do it, and when it makes more sense to call in help. For broader home care ideas, you may also find our pages on domestic cleaning in Harringay and house cleaning services useful, especially if oven care is part of a bigger reset.
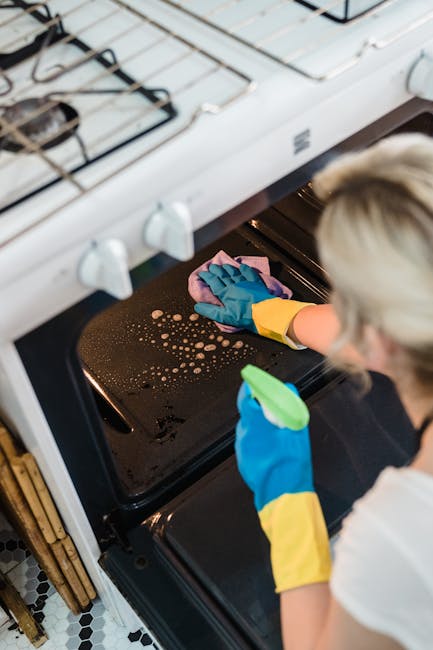
Why Turnpike Lane oven cleaning tips for Harringay homes Matters
Oven cleaning is one of those jobs people keep putting off because it never looks urgent until it suddenly is. Then you open the door and see the baked-on residue, the dark patches on the base, the grease around the fan cover, and it all feels a bit much. In a busy part of North London like Harringay, where life moves quickly and kitchens do a lot of heavy lifting, a neglected oven can become a daily nuisance rather than a rare inconvenience.
There is also a simple practical reason to stay on top of it: a cleaner oven is easier to use, easier to inspect, and usually less prone to unpleasant surprises. Burnt residue can affect smell, smoke levels, and the way heat moves around the cavity. You may not notice it immediately, but over time the difference adds up. To be fair, nobody is measuring oven efficiency with a stopwatch in most homes. Still, you can often tell when a neglected oven is working harder than it should.
For Turnpike Lane households, this matters even more because home routines tend to be compressed. People cook after commuting, clean in short bursts, and squeeze chores into small windows. That makes smart oven care more useful than heroic cleaning marathons. It is also why local homes often benefit from a broader cleaning rhythm that includes carpets, upholstery, and kitchen maintenance. If you are thinking about a deeper refresh, the guides on carpet cleaning in Harringay and upholstery cleaning services can help round out your home-care plan.
There is another angle too: if you are renting, preparing for an inspection, or moving out, a dirty oven can become one of those small things that turns into a bigger issue. That is why local end-of-tenancy advice often puts kitchen appliances high on the list. A useful starting point is the article on Green Lanes end of tenancy cleaning in Harringay N4, which gives a broader sense of what landlords and agents usually pay attention to.
How Turnpike Lane oven cleaning tips for Harringay homes Works
Good oven cleaning is less about brute force and more about sequence. The job becomes much easier when you break it into parts: racks, trays, door glass, seals, fan area, and the interior cavity. Each part responds a little differently to heat, grease, and cleaning products, so trying to attack everything with the same method is where people usually go wrong.
In practical terms, the process works like this:
- Cool the oven fully so you are not cleaning on a hot surface.
- Remove loose debris with a dry cloth or soft brush.
- Choose a suitable cleaner based on the oven type and the level of build-up.
- Let the product dwell long enough to loosen the grime.
- Wipe, rinse, and repeat rather than scrubbing wildly in one go.
- Finish by drying and checking seals, corners, and the door edge.
That last part matters more than people think. Residual moisture, cleaner traces, and loose bits of carbon can all affect the first cook after cleaning. Ever noticed that slightly sharp smell when someone has cleaned an oven and then used it straight away? That is usually a sign the rinse or dry stage was rushed.
For a lot of Harringay kitchens, especially smaller ones, ventilation is also part of the equation. Open a window if you can, switch on the extractor fan, and avoid overusing sprays in enclosed spaces. This is one of those jobs where less can genuinely be more. A careful, staged clean usually beats an aggressive one.
Key Benefits and Practical Advantages
The benefits of keeping an oven clean go beyond appearances. Yes, a shiny oven looks better, but the everyday advantages are the real prize.
- Less smoke and odour: Burnt-on grease is one of the biggest causes of that lingering kitchen smell.
- Easier cooking: You are less likely to deal with flare-ups, smoke, or residues dropping onto food.
- Better hygiene: A cleaner cavity reduces the build-up of old food matter and grease.
- Longer appliance life: Regular maintenance helps prevent avoidable wear.
- Better first impression: Important for inspections, visits, and move-outs.
- Less effort later: A light weekly wipe is far easier than a full rescue clean after months of build-up.
There is also a psychological benefit, honestly. A clean oven makes the whole kitchen feel calmer. It is one of those quiet wins that can make a home feel more under control, especially if the rest of the week has been a bit hectic. Small thing, but real.
If you are doing a broader home reset, you may want to look at the full services overview to see how oven cleaning fits alongside regular household support. For some homes, combining kitchen upkeep with office cleaning in Harringay or other domestic tasks can save time and keep standards more consistent.
Who This Is For and When It Makes Sense
Not every household needs the same oven-cleaning schedule. A family cooking most evenings will have different needs from someone who mainly reheats meals and uses the grill once in a while. The trick is matching the method to the way you actually live.
This guidance is especially useful if you are:
- a homeowner trying to keep kitchen maintenance manageable;
- a tenant preparing for an inspection or end-of-tenancy clean;
- a landlord wanting the property to present well between lets;
- a busy household where the oven is in use most days;
- someone who cooks with oils, roasts, or bakes often enough to create build-up quickly;
- a new resident getting a second-hand oven back into proper condition.
It also makes sense if you have noticed the following: streaks on the door, smoke when the oven heats, grease on the seals, uneven-looking racks, or a general stale smell when the door opens. None of these means disaster. They just mean the oven is asking for attention, rather politely at first, then less politely later on.
For people moving into or around the area, the broader local context can help too. If you are new to the neighbourhood, the article on life in Harringay London gives a useful feel for the area, while living in Harringay is a good companion read if you are weighing up everyday home-life practicalities.
Step-by-Step Guidance
If you want a method that actually works, keep it simple and structured. The aim is to loosen grime safely, not attack the oven like it owes you money.
1. Let the oven cool completely
This sounds obvious, but rushing this stage is how people end up with sore hands, smeared residue, and a stronger smell of cleaner than necessary. Wait until the oven is fully cool to the touch.
2. Remove racks, trays, and loose parts
Take out what you can. Racks and trays usually need separate attention because they collect grease differently from the interior walls. If a grill pan is covered in heavy residue, soak it before scrubbing. That alone can save a lot of effort.
3. Sweep out crumbs and loose debris
Use a dry cloth, soft brush, or vacuum with a suitable attachment if needed. You want the cleaner to work on stuck-on residue, not sit on a bed of crumbs. Little step, big difference.
4. Apply your chosen cleaner carefully
Whether you use a shop-bought degreaser or a mild paste method, follow the instructions and avoid flooding the area. Concentrate on the roof, sides, base, and door glass. Keep product away from heating elements and sensitive components unless the manufacturer says otherwise.
5. Allow dwell time
This is where patience pays off. A cleaner needs time to soften baked-on grease. If you wipe too soon, you are just pushing grime around. Let it sit, then come back with a cloth or non-scratch pad.
6. Clean the racks separately
Soak racks in warm water and a suitable cleaner, then work at the grime in stages. For stubborn patches, a second soak is often kinder than endless scrubbing. Truth be told, this is the bit nobody loves. Still, it's manageable.
7. Wipe down and rinse thoroughly
Use a clean damp cloth to remove residue. If any cleaner remains, keep wiping until the surface feels neutral rather than slick. This matters for smell and for the next time you heat the oven.
8. Dry everything and reassemble
Dry the oven interior, glass, and removable parts before putting them back. Leave the door open for a short while if the space allows. Then give the whole appliance one final check from top to bottom.
Expert Tips for Better Results
Small refinements make a much bigger difference than people expect. Here are the habits that tend to separate a decent clean from a genuinely thorough one.
- Clean little and often: A quick wipe after a spill cools down saves you a heavy scrub later.
- Protect the seals: Avoid soaking rubber or fabric seals with harsh products.
- Deal with fresh splashes early: Tomato sauce, fat, and sugar burns are much easier to remove before they fully set.
- Use non-scratch tools: Metal scourers can mark glass and enamel very quickly.
- Ventilate the room: This helps with both smell and comfort.
- Check the fan area carefully: Grease often gathers where people forget to look.
- Plan a proper drying finish: Damp corners attract grime again more quickly.
A small but useful trick: keep a microfibre cloth near the kitchen sink specifically for oven spills. That way you are more likely to act when a tray bubbles over or a roast leaves a mark. It sounds trivial, but habits do most of the work here.
If you are comparing broader cleaning support, our pricing and quotes page can help you understand how services are typically structured, and about us explains the approach behind the work. A good cleaning service should feel organised, safe, and straightforward. No mystery, no drama.
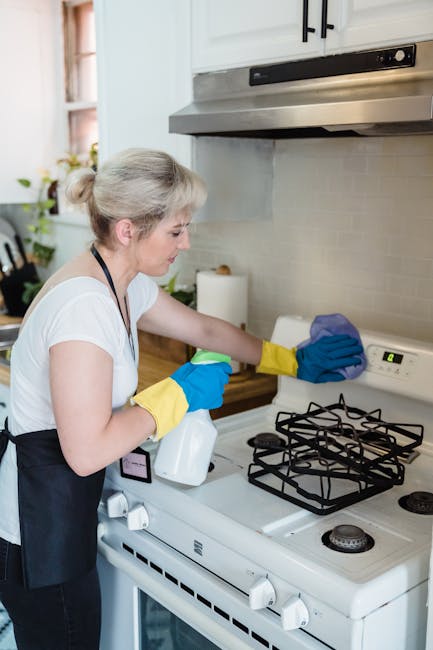
Common Mistakes to Avoid
Most oven-cleaning problems come from a few predictable habits. Avoid these and you will already be ahead of the game.
- Using too much product: More cleaner does not equal cleaner results. It often means more residue to wipe away.
- Scrubbing too hard: That can damage surfaces and make the finish look patchy.
- Ignoring the door glass: A clean cavity with a grimy door still looks dirty.
- Skipping the racks: They carry a lot of residue and can smell even when the main oven looks fine.
- Cleaning while hot: Risky, uncomfortable, and often less effective.
- Forgetting hidden edges: Grease builds up in corners, around hinges, and near the fan.
- Using harsh methods on self-cleaning or specialist ovens: Always check the model guidance before you start.
One common local scenario is a tenant doing a quick face-saving wipe a day before check-out. It can help, but if the oven already has layered build-up, that kind of last-minute clean rarely gets the job done fully. Better to start earlier. A bit earlier. Your future self will thank you.
Tools, Resources and Recommendations
You do not need a cupboard full of specialist gear, but the right basics make the job less frustrating.
| Tool or item | What it helps with | Practical note |
|---|---|---|
| Microfibre cloths | Wiping, polishing, final drying | Use a few, not just one, so you can swap out greasy cloths |
| Non-scratch sponge or pad | Lifting stuck-on residue | Safer for enamel and glass than metal scourers |
| Warm water and bowl | Soaking racks and loosening grime | Simple but effective, especially for lighter build-up |
| Suitable oven cleaner | Degreasing and softening burnt-on residue | Follow the label carefully and test where needed |
| Rubber gloves | Protecting hands from cleaner and grease | Comfort matters more than people think in long cleans |
| Old towel or mat | Protecting the floor around the oven | Especially handy in compact Harringay kitchens |
For some homes, a professional cleaning visit is simply easier and more efficient. If you are trying to build a dependable household routine, house cleaning in Harringay can support the broader upkeep, while end of tenancy cleaning is especially relevant if you are nearing a move. When the oven has heavy carbon build-up or awkward access, the value of expert help becomes clearer pretty quickly.
Law, Compliance, Standards, or Best Practice
Oven cleaning itself is not a heavily regulated household task, but there are still sensible standards to follow. In the UK, best practice is mostly about safe use of cleaning products, careful handling of hot surfaces, and avoiding damage to the appliance. That sounds basic, yet it is exactly where problems happen.
If you are using chemical oven cleaners, read the label fully and keep the room ventilated. Do not mix products, especially anything that could react badly with bleach or strong alkaline cleaners. That is not worth testing, obviously. Also avoid using products on surfaces that the manufacturer says should not be treated that way.
For landlords, tenants, and letting agents, a clean oven is often part of normal property presentation and end-of-tenancy expectations. The exact standard depends on the agreement and the condition of the appliance before occupation, so it is always best to check the tenancy terms rather than assume. If you want to understand service standards and customer expectations a bit better, our pages on terms and conditions, insurance and safety, and health and safety policy provide helpful context.
There is also a quality-of-work angle. A proper clean should leave no chemical film, no lingering dampness, and no visible damage to glass, seals, or enamel. That is the standard to aim for. Nothing flashy, just clean and safe.
Options, Methods, or Comparison Table
There is no single "best" method for every oven. It depends on how dirty the appliance is, how much time you have, and how careful you need to be around the surfaces. Here is a simple comparison that may help.
| Method | Best for | Pros | Limitations |
|---|---|---|---|
| Mild manual clean | Regular upkeep and light grease | Low-cost, controllable, gentle on surfaces | Can be slow if grime is heavy |
| Shop-bought oven cleaner | Moderate build-up and stubborn patches | Good degreasing power, efficient | Requires careful use and good ventilation |
| Deep clean by hand | Heavy residue and neglected ovens | Thorough if done patiently | Time-consuming and physically more demanding |
| Professional oven cleaning | Severe build-up, move-outs, busy households | Convenient, detailed, often faster overall | Costs more than DIY |
In practice, many Harringay households use a hybrid approach: quick wipe-downs between deeper cleans, then a professional visit when the build-up has gone beyond the point of easy rescue. That is often the most realistic option, and no shame in that at all.
Case Study or Real-World Example
Picture a typical Turnpike Lane flat kitchen on a Thursday evening. The oven has seen a lot of roasting trays, a few pizza nights, and at least one overenthusiastic lasagne. The glass door is smeared, the bottom has dark specks, and the smell when it heats up is a little burnt around the edges.
The resident does not have hours to spare. So they start with a cool oven, remove the racks, vacuum out crumbs, then apply a cleaner and leave it to work while they sort the sink area and wipe nearby surfaces. The racks soak in a separate tub. After twenty minutes, the residue lifts more easily. Not perfectly, but enough to avoid hard scrubbing. The oven ends up cleaner, the smell drops, and the door glass is no longer the first thing guests notice. Simple, but effective.
That is the pattern you see most often in real homes: the best results come from breaking the task into stages and being realistic about what the oven needs. Sometimes the win is a quick refresh. Sometimes it is a proper deep clean. Sometimes, frankly, it is deciding that the appliance needs professional attention before you spend another two hours on your knees.
Practical Checklist
Use this checklist before and during your oven clean. It keeps the job tidy and stops the usual missed spots.
- Oven fully cooled
- Area around the oven protected with a towel or mat
- Racks, trays, and removable parts taken out
- Loose crumbs and debris removed first
- Suitable cleaner chosen for the oven type
- Room ventilated with window or extractor fan
- Cleaner left to dwell for the recommended time
- Non-scratch tools used for stubborn patches
- Door glass, seals, corners, and fan area checked
- All residue wiped away thoroughly
- Oven dried fully before use
- Racks and trays cleaned before refitting
- Final smell and visual check completed
If you can tick most of these off, you are already doing better than the average rushed kitchen clean. And yes, the average rushed kitchen clean is a very real category.
Get a free quote today and see how much you can save.
Conclusion
The best Turnpike Lane oven cleaning tips for Harringay homes are not about fancy products or marathon scrubbing sessions. They are about consistency, sensible technique, and knowing when to stop trying to force a result. A clean oven supports better cooking, reduces odour, and makes the whole kitchen feel easier to live with. That matters in a place where home life is busy and space is often doing more than one job.
Start with the basics: cool oven, remove parts, loosen grime, clean in stages, and finish properly. Keep on top of spills before they harden. Use the right tools. Avoid harsh shortcuts. And if the oven is already past the point where DIY feels worth it, getting expert help is a perfectly sensible choice.
Small jobs done regularly have a way of making the whole home feel lighter. That is the quiet payoff, really.